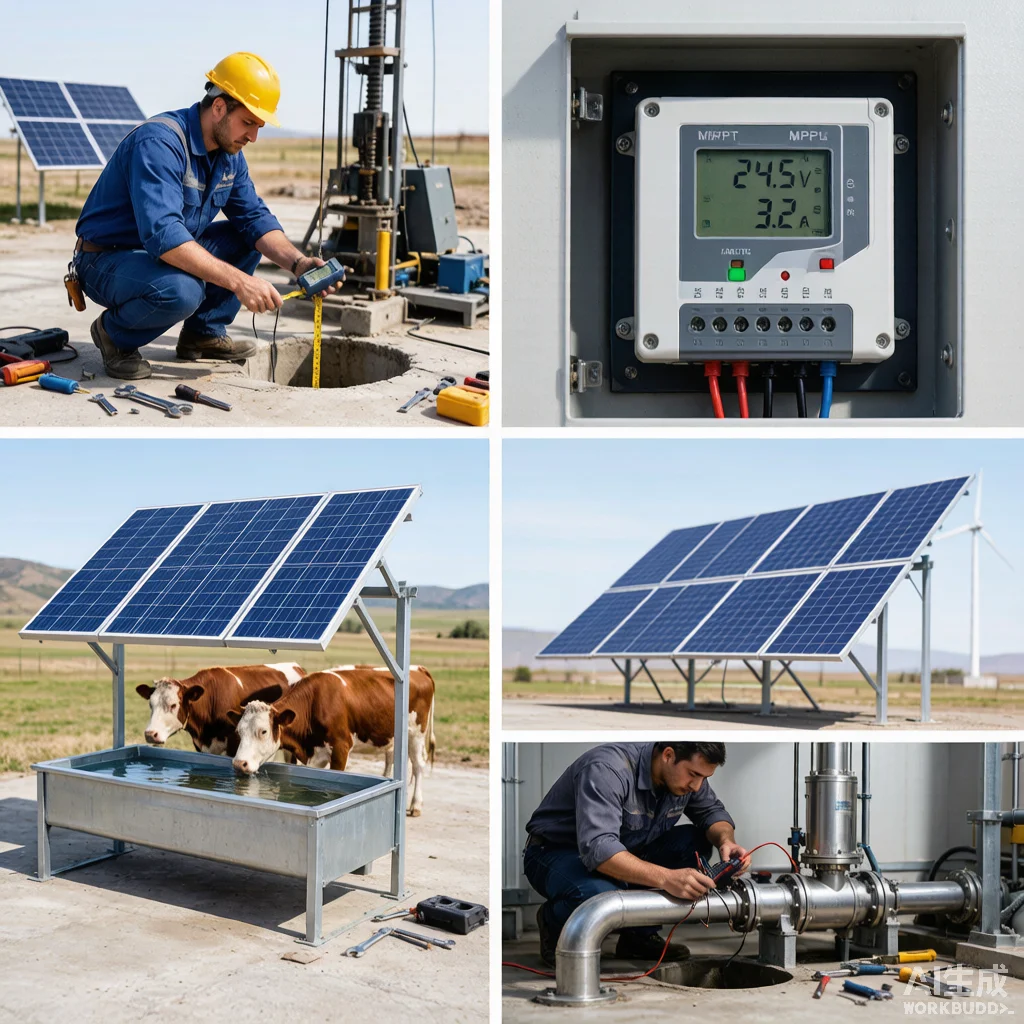
Solar Pump Installation Guide: From Site Survey to Commissioning and Acceptance Testing
Introduction
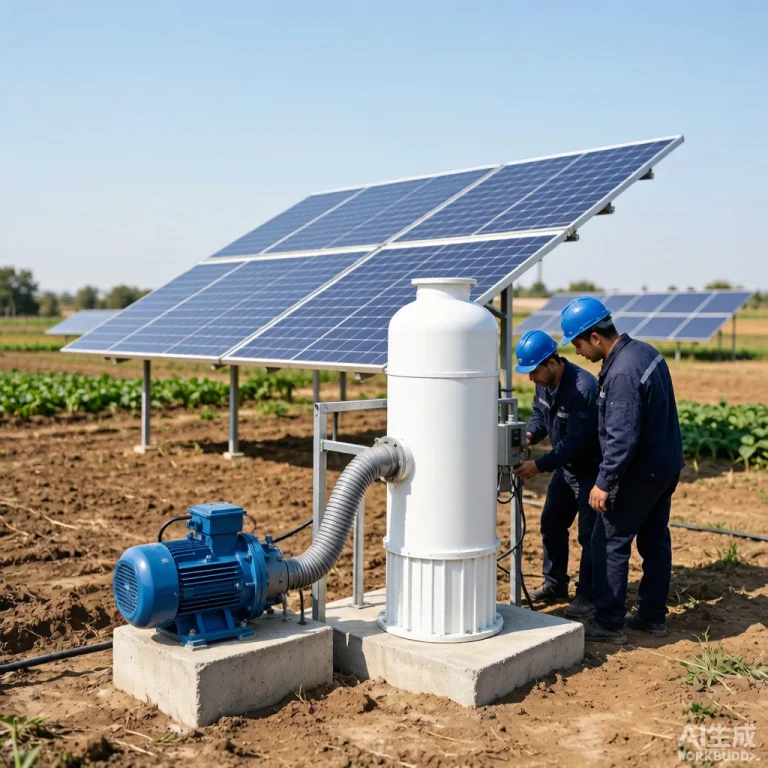
A solar pump installation can be specified perfectly on paper and still fail within months if the physical installation is executed poorly. Site preparation, well development, electrical connections, and commissioning procedures each represent critical quality gates where shortcuts cascade into reliability problems. KINBO provides detailed installation manuals with every pump, and recommends that commissioning be performed or supervised by qualified technicians to validate warranty coverage.
Table of Contents
Site Survey and Preparation
Before any equipment arrives on site, a thorough survey must verify: well depth and casing diameter (minimum 100mm for pumps up to 3 kW, 150mm for larger), static and pumping water levels (recorded at known flow rate), water quality parameters, accessibility for panel mounting (clear southern exposure in Northern Hemisphere, no shading from structures or trees), and distance from wellhead to discharge point (determines pipe length and friction loss). The solar array location should be within 50 meters of the wellhead to minimize DC cable voltage drop; beyond this distance, cable sizing must be increased to keep voltage drop below 3%.
Pump Installation Procedure
- Pre-installation check: Verify pump model matches specification. Measure motor winding resistance and insulation resistance before installation. Record these baseline values.
- Drop cable preparation: Use submersible-rated cable only. Splice connections using waterproof heat-shrink splice kits—never use standard electrical tape underground. Secure cable to the drop pipe every 3 meters with cable guards to prevent chafing against the casing.
- Lowering the pump: Set the pump at least 3 meters above the well bottom to avoid sediment ingestion, and at least 5 meters below the pumping water level to prevent vortex formation and air entrainment. Use a safety cable attached to the pump eye bolt as a retrieval backup.
- Wellhead sealing: Install a sanitary well cap or pitless adapter that prevents surface water, insects, and debris from entering the well. This is both a water quality measure and a pump protection measure.
Electrical and Panel Installation
| Cable Run | Max Length at 3% Voltage Drop | Recommended Cable Size |
|---|---|---|
| Panels to controller (3 kW, 300V) | 50m | 4 mm² |
| Panels to controller (3 kW, 300V) | 100m | 6 mm² |
| Controller to pump (3 kW, 200V) | 80m (well depth) | 6 mm² |
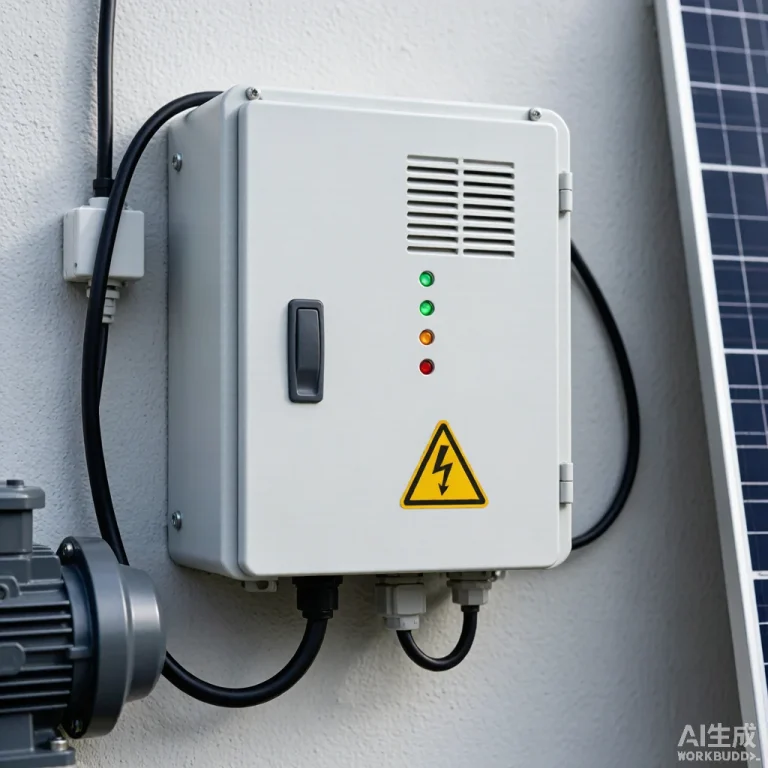
Install surge protection devices on both DC input and AC backup circuits. Ground the panel frames and mounting structure to a dedicated earth rod—this serves both electrical safety and lightning protection functions. The controller should be mounted in a ventilated, weatherproof enclosure, never in direct sunlight. See our panel configuration guide for detailed mounting specifications.
Commissioning and Acceptance Testing
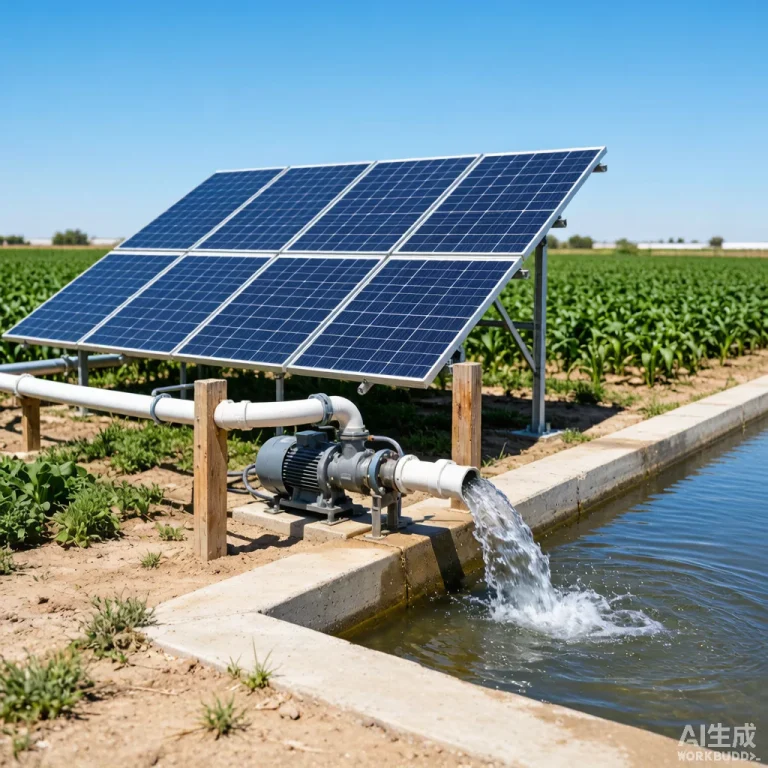
Commissioning is not a formality—it is the final quality gate before the system enters service. Conduct a minimum 2-hour test run recording: flow rate at 30-minute intervals, operating voltage and current, static and pumping water levels, and controller fault log (should be empty). Verify that flow rate matches the pump curve prediction within 10% at the measured TDH. Document all values in a commissioning report signed by the installer and the customer representative. This report serves as the baseline for future performance comparison and is often required for warranty registration. Installers who skip formal commissioning report three times more warranty claims than those who document it.
Frequently Asked Questions
Q: How long should a typical solar pump installation take?
A: A 3 kW system with 8 panels by a 2-person crew: 1 day for site prep and panel mounting structure, 1 day for pump installation and electrical connections, half day for commissioning. Allow 3 days total including contingencies for remote sites.
Q: What is the most common installation error?
A: Undersized drop cable causing excessive voltage drop between the controller and pump. This starves the pump of voltage, reducing flow rate by 10-30% without any obvious fault indication. Always calculate voltage drop for the actual cable length and select wire gauge accordingly.
Q: Can I install the controller inside a building?
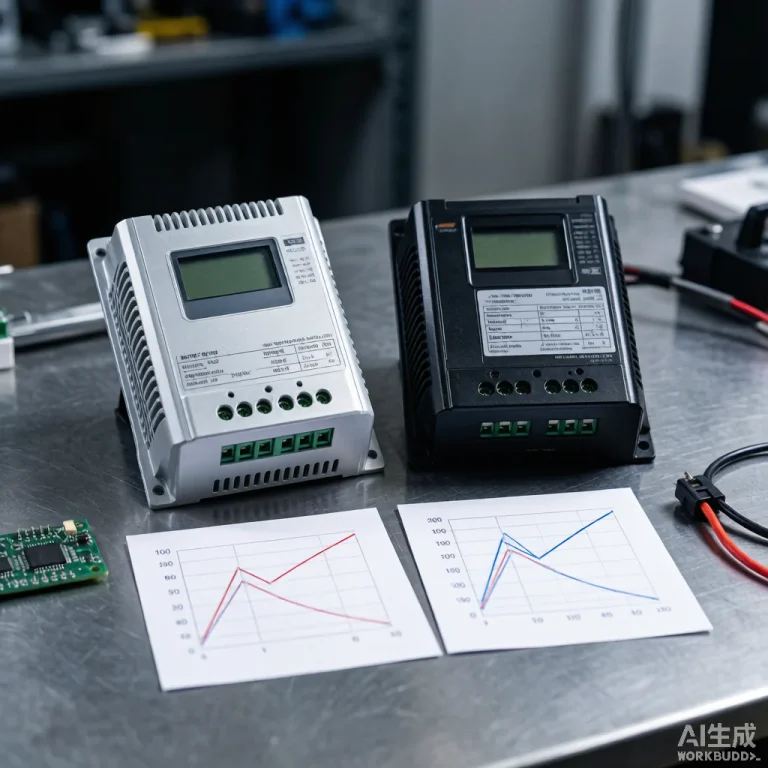
A: Yes, but ensure adequate ventilation—controllers dissipate 3-5% of rated power as heat. A 3 kW controller generates approximately 100W of heat at full load. In an unventilated enclosure, this can raise internal temperature 30°C above ambient, triggering thermal protection shutdown.
For B2B project developers requiring installation supervision or technician training, contact KINBO for commissioning support and installation documentation.
Related Articles
- Configure Solar Panels for Water Pump
- Solar Water Pump Maintenance Guide
- Explore KINBO Solar Submersible Pumps